1. What is a jailbreak device?
Jailbreaking refers to the process of removing all restrictions imposed on an iOS device. Apple’s devices that can be jailbroken include; iPad, iPod Touch, Apple TV 2 and all iPhone smartphones. Jailbreaking allows root access to system files that can be manipulated to enable installation of apps, themes, and extensions that are not supported by Apple or unavailable for download on Apple App Store.
Is jailbreaking safe?
Although legal in most countries, jailbreaking still involves risks. Here’s why:
- Malware
- Crashes and stability issues
- Data breaches
Is jailbreaking legal?
Although it is likely to void your warranty, jailbreaking is legal in the United States and is likely to be legal in most countries (though it’s worth checking). That doesn’t mean it will always stay legal. The DMCA (Digital Millennium Copyright Act) in the US had at one point made the practice illegal, but this interpretation was overturned in court.
Why would you want to jailbreak your iPhone?
Many choose to jailbreak their iOS devices to modify the operating system. Some more tech-savvy users find that iOS is too restrictive for their needs and desire a flexible and customizable operating system, implement open-source software and install apps that would have been unavailable from the official store.
What is Cydia?
Cydia is a graphical user interface of APT (Advanced Package Tool) for iOS. It enables a user to find and install software not authorized by Apple on jailbroken iPhones, iPads and iPod Touch devices. It also refers to digital distribution platform for software on iOS accessed through Cydia software.[2] Most of the software packages available through Cydia are free of charge, although some require purchasing
2. Jailbreak an iOS Device
Select the iOS version installed on the phone and follow the instructed steps.
2.1 Requirements
Note: Instructions for installing on all linux platforms.
What is checkra1n?
checkra1n is a community project to provide a high-quality semi-tethered jailbreak to all, based on the ‘checkm8’ bootrom exploit.
How do I use it?
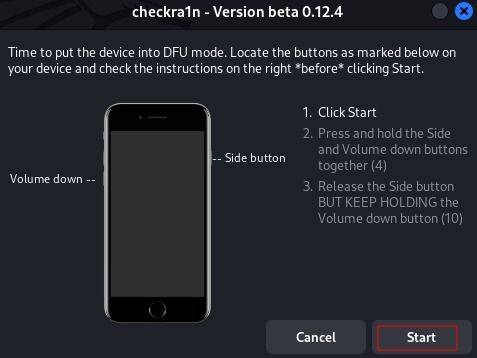
Open the checkra1n app, and follow the instructions to put your device into DFU mode. Hax happens auto-magically from that point and the device will boot into jailbroken mode. If you reboot the device without checkra1n, it will revert to stock iOS, and you will not be able to use any 3rd party software installed until you enter DFU and checkra1n the device again.
Checkra1n version 0.9 → 0.12.4 beta
Download URL https://checkra.in/linux
Using the repo:
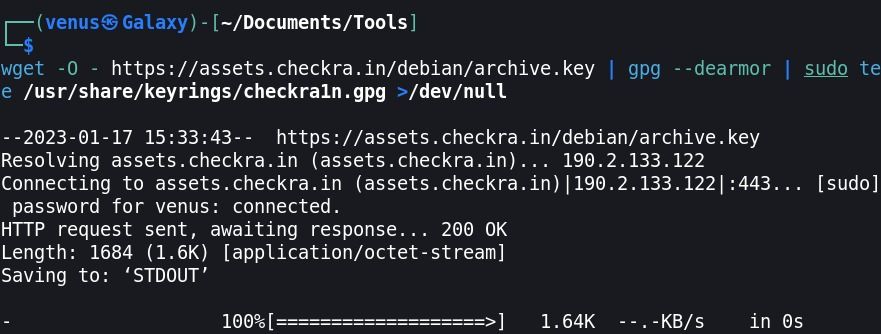
wget -O - https://assets.checkra.in/debian/archive.key | gpg --dearmor | sudo tee /usr/share/keyrings/checkra1n.gpg >/dev/nullecho 'deb [signed-by=/usr/share/keyrings/checkra1n.gpg] https://assets.checkra.in/debian /' | sudo tee /etc/apt/sources.list.d/checkra1n.listsudo apt-get updatesudo apt-get install checkra13. Setup and installation
Step:1 add this repo → wget -O – https://assets.checkra.in/debian/archive.key | gpg –dearmor | sudo tee /usr/share/keyrings/checkra1n.gpg >/dev/null
Step:2 signed-by → echo ‘deb [signed-by=/usr/share/keyrings/checkra1n.gpg] https://assets.checkra.in/debian /’ | sudo tee /etc/apt/sources.list.d/checkra1n.list

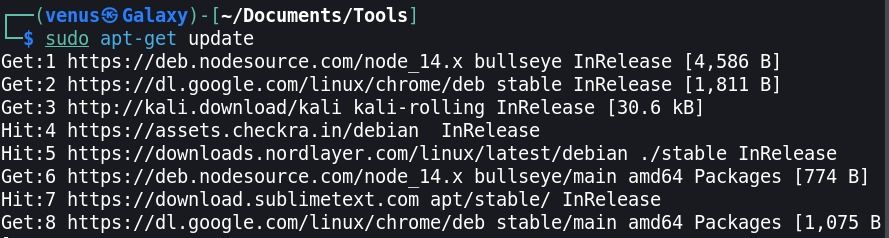
Step:3 Update → sudo apt-get update
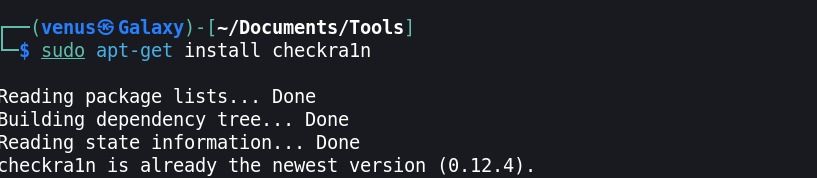
Step:4 install checkra1n → sudo apt-get install checkra1n
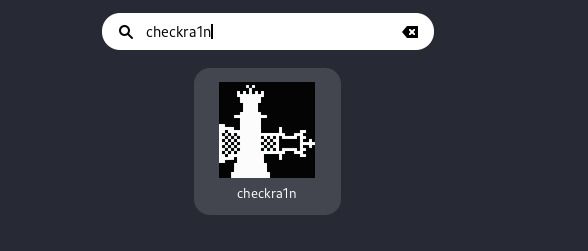
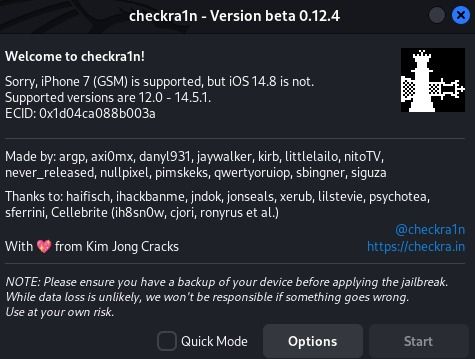
Step:5 installed —> open this checkra1n
Step:6 Observe that popup and connect your device and click on the Options button.
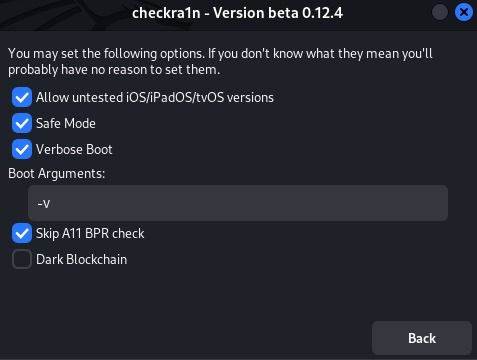
Step:7 Follow this check box and click on back button
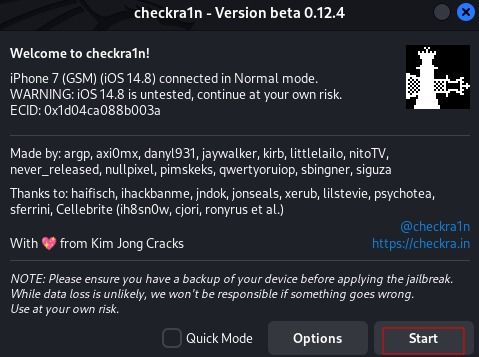
Step:8 Get start this click on – > Click one the start
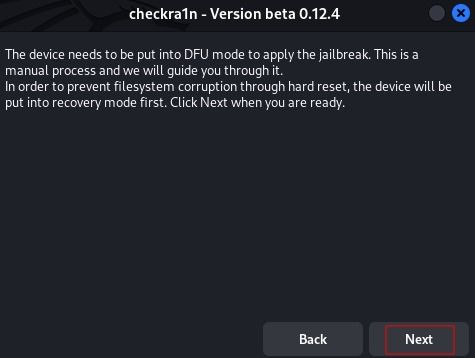
Step:9 Click on the Next
Step:10 Follow this step 2 and 3 and Click on the start
Step:11 Please wait to complete this process
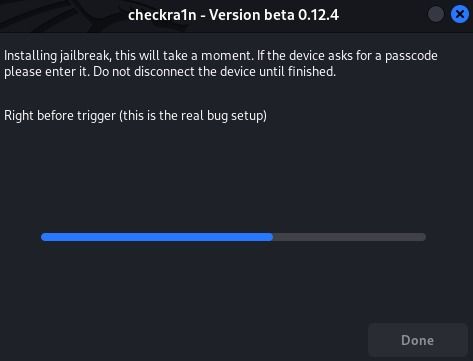
Step:12 Observe that packages are installed on the device

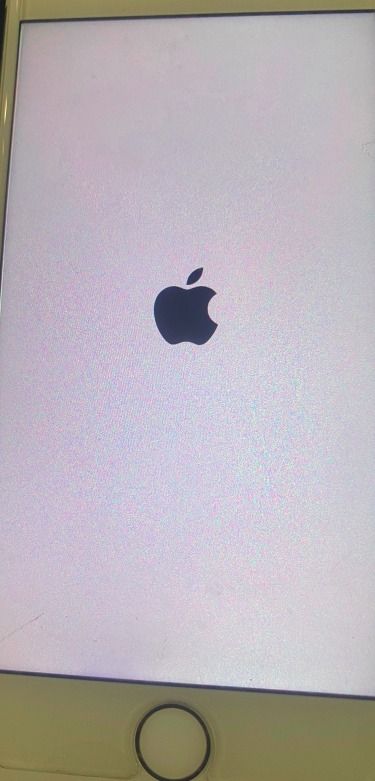
Step:13 Now, Device is jail-broken
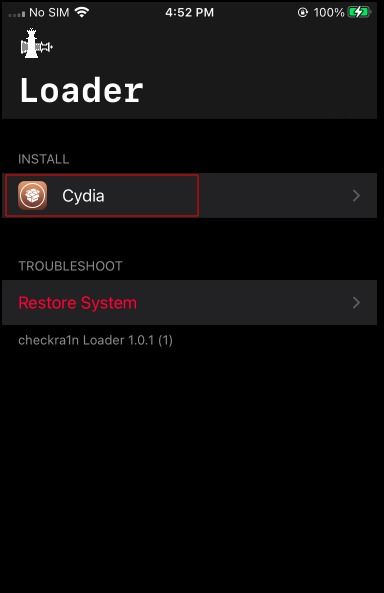
Step:14 Observe that installed → checkra1n → Open it
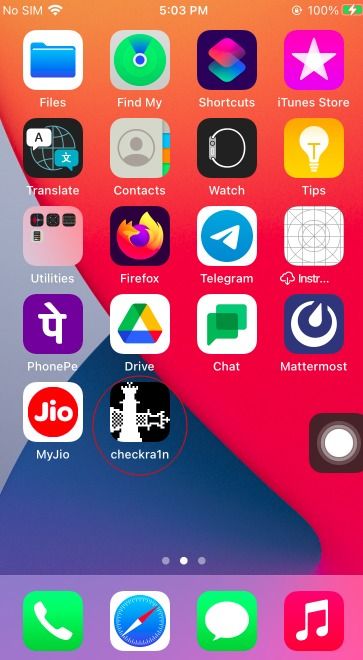
Step:15 Observe that Cydia → Click on the icon and install this
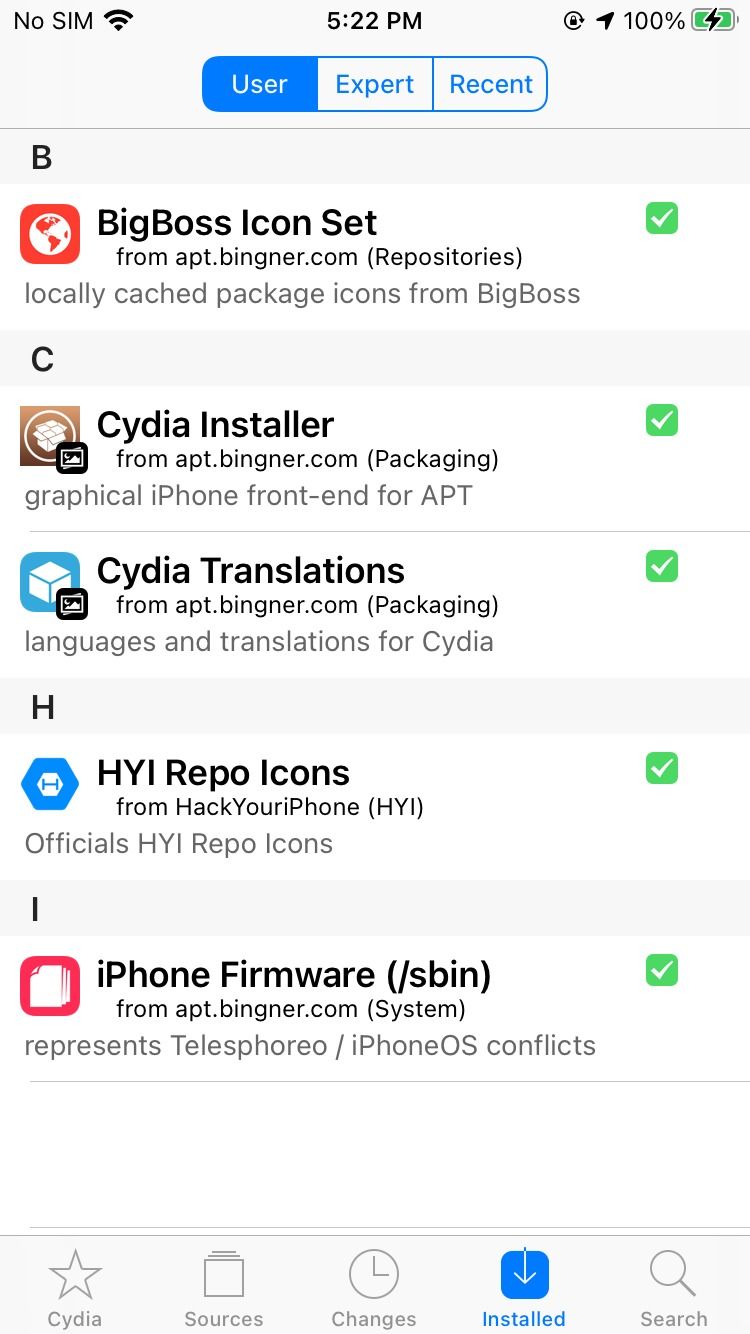
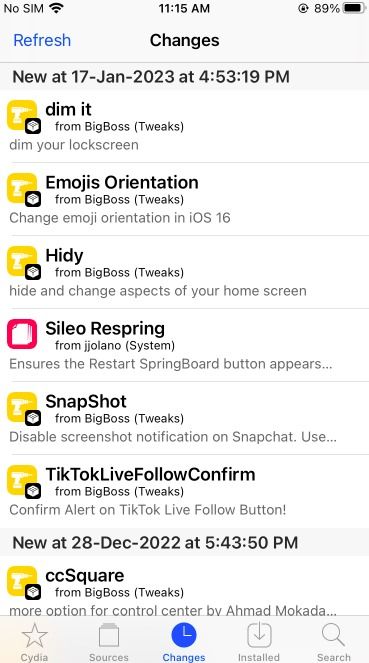
Step:16 Observe that Cydia → You will find 4 tabs on the footer
- Sources
- Changes
- Installed
Search
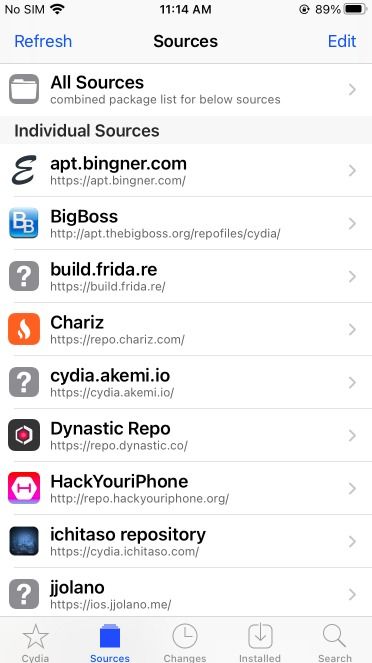
Step:17 “Sources” tab → These are all your pre-installed repositories and where new sources will be added. Currently I have the below sources added. You can add different sources as per your needs.
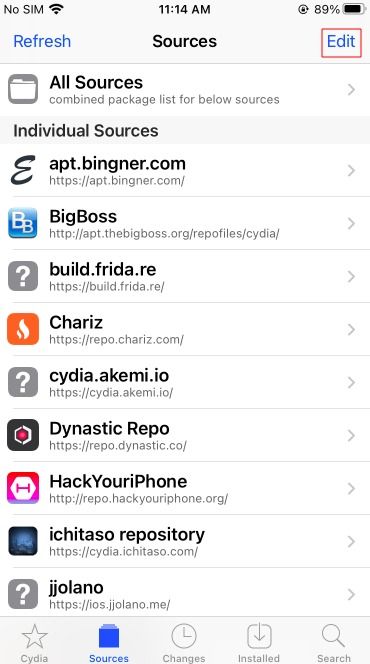
Step:18 To add a source → click on the “Edit” link in the top right and then click on the “Add” link. You will be presented with a dialogue box like this
Step:19 “Changes” and “Installed” tabs will tell you about all the packages installed and if any package needs to be updated.
Step:20 The “Search” → tab is where you will find and install different packages from the different sources mentioned in the “Sources” tab.

That’s all for this blog, I hope you enjoyed reading this. In future I will right one more blog that will include some other techniques.
References

Sukesh Goud, Certbar’s Security Consultant, leads Mobile R&D with 4 years’ expertise, excelling in red teaming and mentoring. Distinguished by a robust Mobile and Web App Security research background.
Share