The infamous DIY Rubber Ducky
Viren Punjabi
Aug 27, 2025
•
5 Min
Viren Punjabi
Aug 27, 2025
•
5 Min
TABLE OF CONTENTS
Share
Hi, fellow cybersec enthusiast! You might have already heard about the Rubber Ducky the infamous USB that is spread all over the internet, featured in many web series and games. Disguised as a regular USB stick this can cause a mayhem in the cyber space.
The idea behind is a device capable of blending in, being indistinguishable from a regular thumb drive and causing a havoc in the targeted system.
The device basically acts a HID (Human Interface Device) device when plugged in. The computer is convinced that the device connected to it is a keyboard or a mouse, not feeling sus at all. The device is programmed to cause serious damage to the target within a couple of seconds when plugged in.
![]()
HID emulation – The device is set to set to mimic a keyboard and send really fast keystrokes and executing malicious payloads to infect the device with malware.
Reverse Shell Payloads
Self-replicating malware (worm)
PowerShell Loader
UAC Bypass
Data Exfiltration – The payloads can be crafted to steal sensitive information such as credentials stored on the target machine.
Credential Harvester
Key Grabber
Wireless Profile Dumper
Let’s build our own BadUSB and learn how this device functions. We have 2 projects for this let’s start with the basic badUSB.

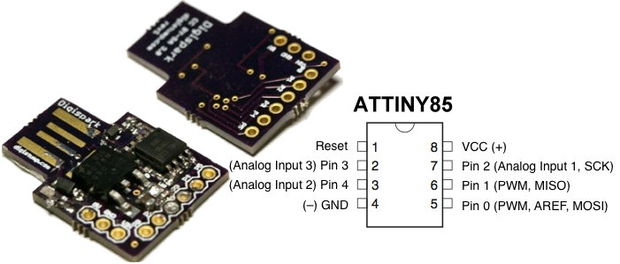
All you need “ATtiny85” (digispark board) MCU and Arduino IDE configured in the system.
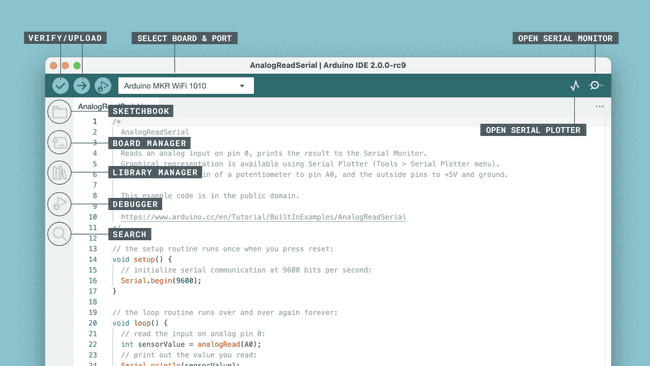
Install Arduino IDE in your system and add board manager URL for digispark boards and then add the board files via board manager.
You should now be able to detect the board in the IDE once plugged in via USB port.
Windows recognises I/O devices by assigning them a COM port, identify the appropriate port for your board via the device manager.
Choose the digispark board and set the same COM port and correct baud rate in Arduino IDE.
The IDE understands C++ language so your payload should be crafted accordingly.
Go to example sketches in the Arduino IDE, open the sketch that has the blink LED code and upload the code to the board. (follow the on-screen instructions to successfully upload the code to the board).
Unplug and re plug the board and if everything is done right you should see an LED blink at a uniform interval.

Now I know what you are thinking there is nothing “bad” in blinking a LED, then how it is a badUSB? Well, you now know how the device works, you now have to make it bad. To do that you need craft a payload in ducky script and then convert that ducky script to C++ code and then upload the code to the board and there you have it an actually bad badSB. Now how bad you can make the badUSB bad is up to your creativity.
I have said “bad” too many times, now is, that bad?. never mind;
Moving on, let’s make a badder badUSB. Remember when I mentioned earlier that it can harvest credentials from a target machine, it needs to send it somewhere or have it in a way the attacker can access it remotely. It’s time to achieve this by adding wireless capabilities to badUSB.
Features:
USB Ethernet (RNDIS gadget)
USB Serial
USB Mass Storage
USB Keyboard
USB Mouse
The idea is to have a server up and running as soon as the USB is plugged in and make it so that the attacker can remotely connect to the USB and inject payloads that will be executed in runtime or download the credentials the device has collected from the victim’s machine when already plugged in. We have now made a badUSB on steroids.

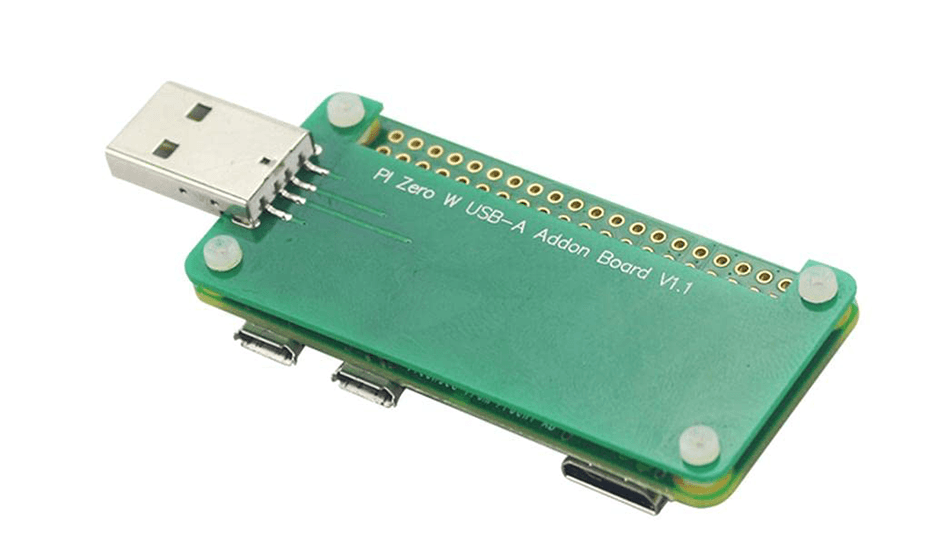
Let’s create one badder badUSB. All you need is a Raspberry Pi zero W, A USB A hat to have a USB A interface directly from the Pi a micro-SD card and you are set.
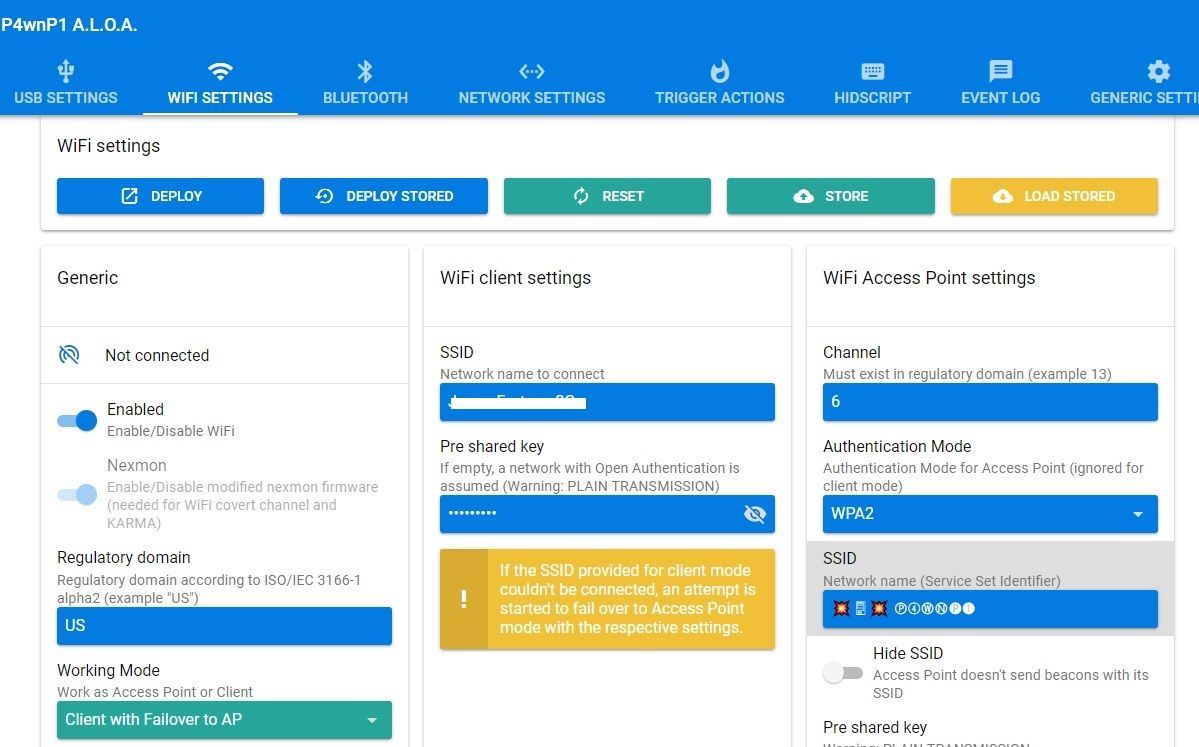
The project P4wnP1 is a Linux machine that has server set with basic configuration set that just needs to be flashed to the SD card.
Once done, plug in the Raspberry Pi and connect it to the computer via USB A and you should be able to see a network in your phone which you can connect to and access the server via the configured URL.
In the server webpage you can further tweak and manage your device. Do keep in mind that the payloads need to be in javascript.

You now have a clear idea on how HID attacks can be done are scary easy to perform. It is fascinating how a simple concept when used in a nasty way can have serious consequences.
P4WN P1 A.L.O.A. Project
Share